1. Add the Configuration Manager Secondary Site Server Computer account to the Group “SCCM-GROUP”. As mentioned in my previous article this group must be added on to the System Management Container Security tab with Full permissions in active directory users and computers snap in as shown below. 
 2. Add the computer account of Configuration Manager Secondary site server to the Local Group “SMS_SiteToSiteConnection_INC” which is present on the primary Site server. Procedure: Logon to primary Site Server- Open Computer management drill down to Local Users and Groups, Select groups and in that we will find a Local Group named as “SMS_SiteToSiteConnection_INC” as shown below. Go to the properties page and add secondary site server computer account.
 3. Create a Sender Address with the Secondary Site Code and Primary Site Information. Procedure: Open SCCM2007 Primary Site Server management Console, drill down to Site Management-Site Code- Site Settings- Addresses. Right Click on Addresses and create a new Standard Sender Address
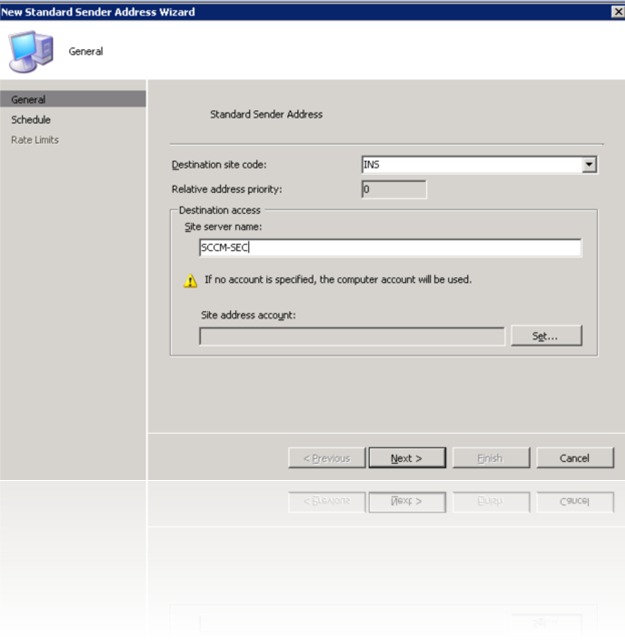
  On the new Standard Sender Address Wizard, enter the Destination Site Code that is the new site code which we will give at the time of Secondary Site server installation. In our case we will give INS. Give the Site Server name that is the Secondary Site Server Name. If you leave the Site address account empty, the sender will use Primary Site Computer account to establish communication between both the sites (Primary and Secondary). If you leave the default, Primary site computer account must have full permissions on the secondary site server. We can also set a windows user account that is having full admin privileges on both the site servers. In our case we will leave as it is to use the Primary site Computer account.
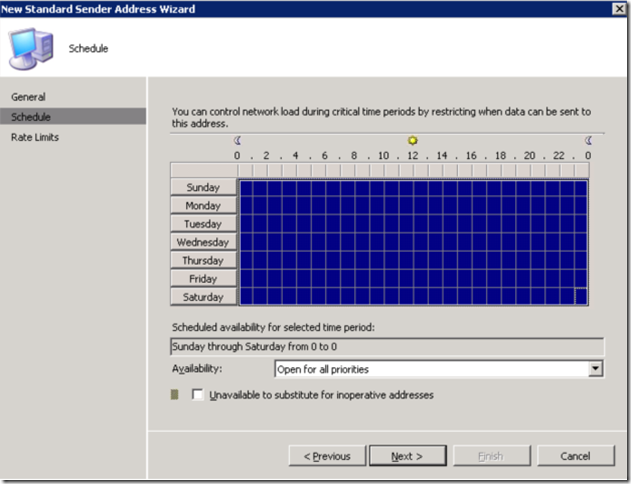
  In our case we selected open from Sunday to Saturday and click next
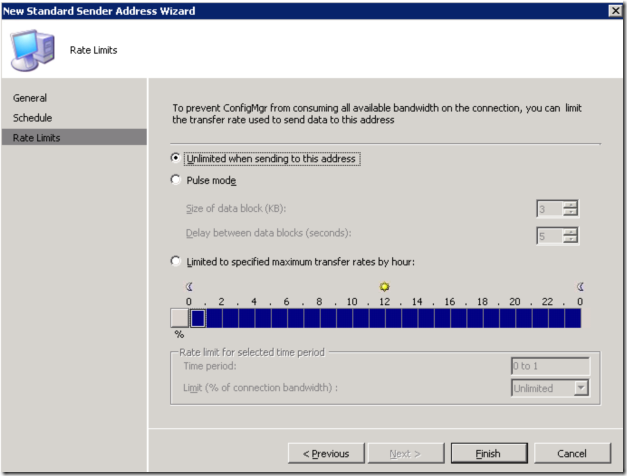
  Leave the defaults and click Finish, you can also modify these settings based on your organization needs.
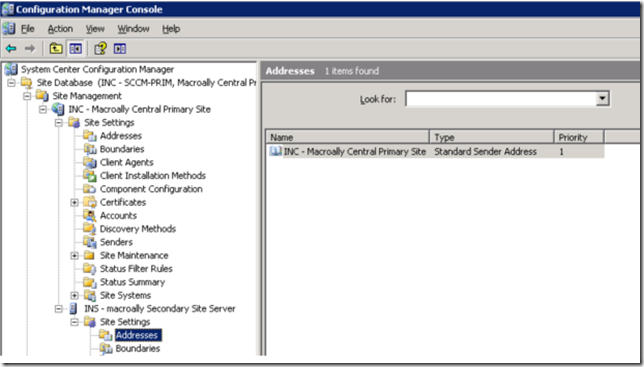
 Once done you will see the newly created connector as shown below.
  4. Check the remote installation permissions of the account with which we are installing SCCM2007. As discussed previously, we are using the Site server system account to establish communication between 2 sites, make sure we add the SCCM-Group into the Local Administrators group on the Configuration Manager Secondary Site Server. To verify these Log onto the Secondary site server and add the SCCM-GROUP account in the Local Administrators group of SCCM2007 Secondary site server.
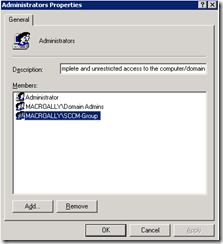 5. The SCCM2007 Primary site server Computer account must have full admin privileges on the Secondary Site Server computer account. 6. The Service account with which we are installing secondary site server must have local admin privileges on the Secondary Site Computer account. 7. Install IIS 6.0 (IIS is used for Management Point and Fallback Status Point) Installing secondary site is two methods one from SCCM Console and second one from direct media from secondary site. we will run with the second option.
  On the installation Prerequisite Check windows select Secondary site and click ok
  click OK
  Click ok, and Initiate the Configuration Manager 2007 installation
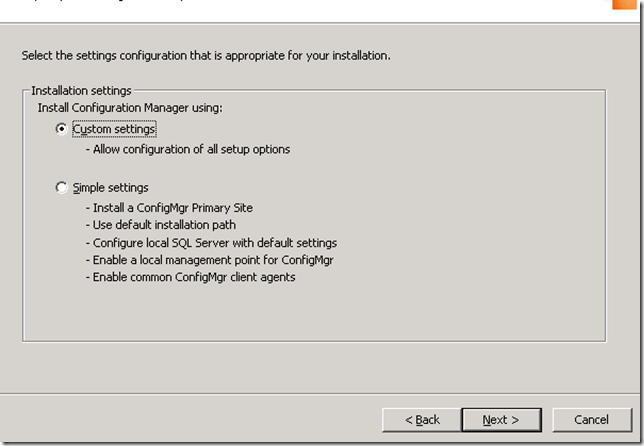
 Click next on the available setup options page
  Accept the License agreement and click next
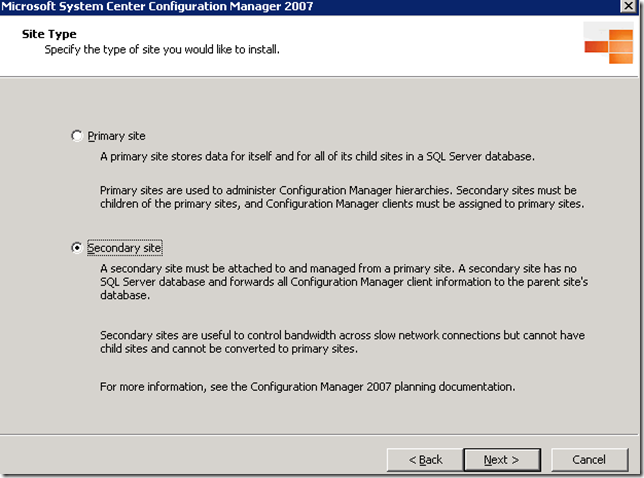
  On the site type windows select Secondary site and click next
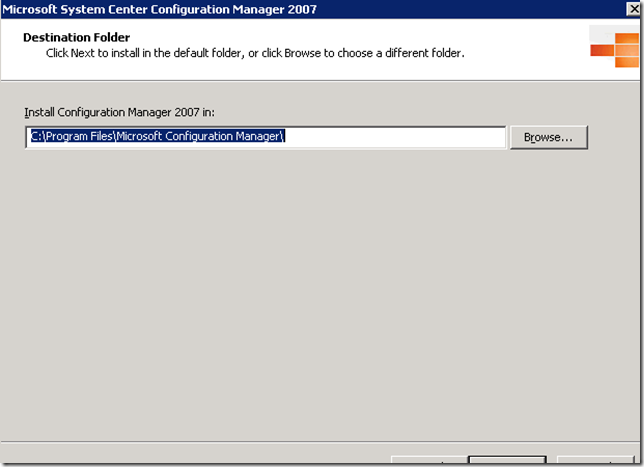
  Provide the installation directory for binary files and click next
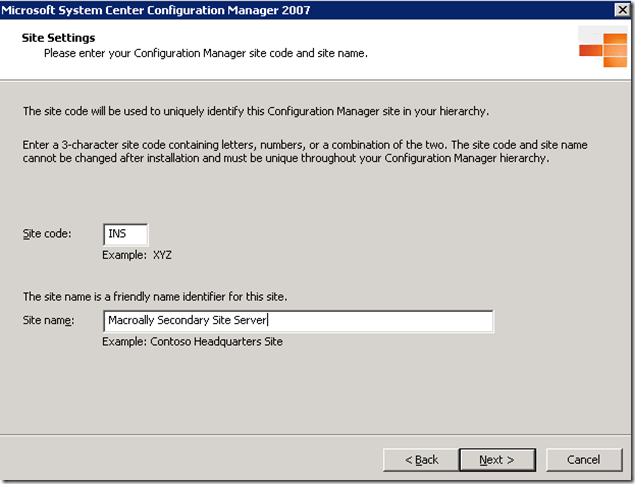
  On the Site Settings Windows Insert the site code which we entered at the time of Sender creation and provide the site name In our case site code is INS and Site Name is MacroALLY Secondary Site Server
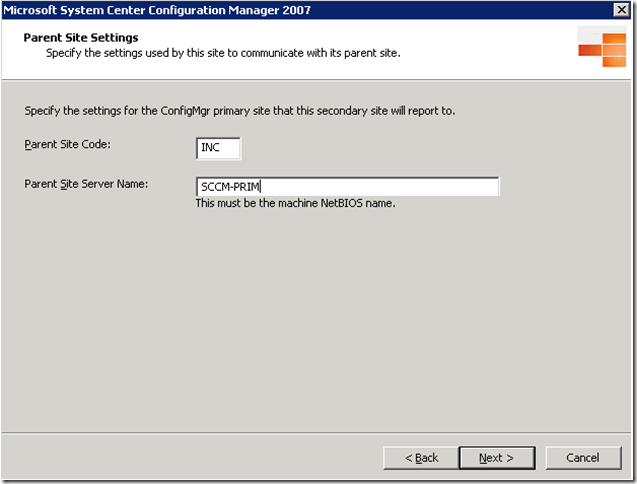
  On the Parent Site Settings window, enter the Primary site code, which are INC and the Parent Site Server Name. Click next to proceed
  On the Update Prerequisite Components page leave the defaults and click next On the Updated Prerequisites path, enter the path to the folder were SCCM will download the updates and put it. Click next On the settings summary page review the settings, if any changes go back to modify or proceed further with installation by clicking next Setup will evaluate your system and cross checks all the prerequisites once more, if the status is green proceed further by clicking Begin install. Setup starts installing the Configuration Manager Secondary site server
 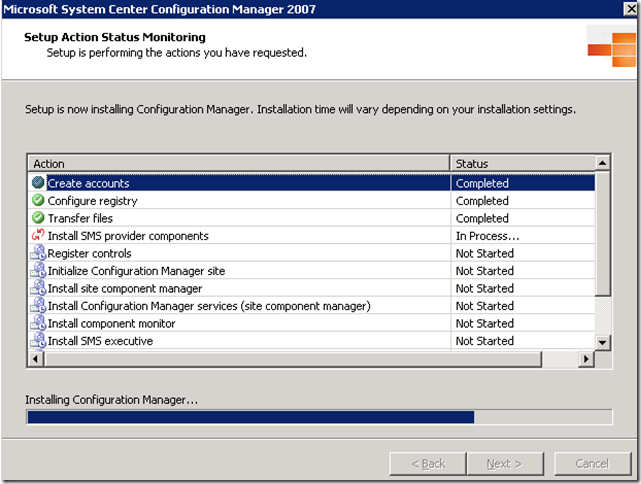 Click Finish and restart the server open the console now after restart
 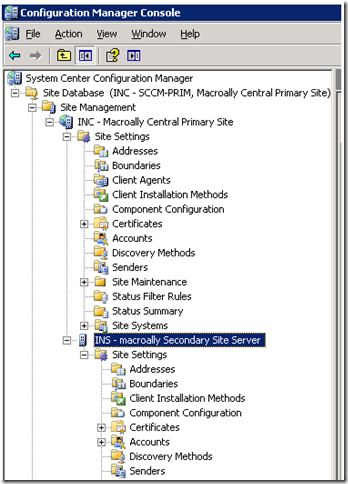 And the Sender will be updated with the necessary information as shown below
 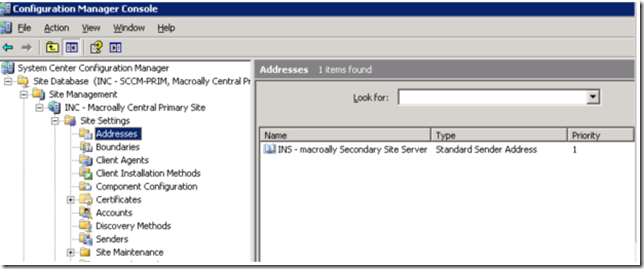 Vise Versa in the Secondary site settings-Address, you will also see a sender address created for Primary server as shown below
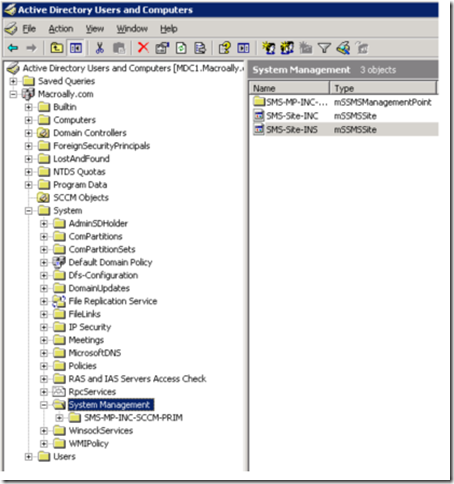
  Configuration Manager Secondary Site is installed Secondary Site Information is updated in the System management Container in AD which is shown below
How confirm that Secondary site is working /Primary to secondary communication is fine: Verify the Log Files to find out weather Secondary site is communicating with primary server properly. Log files to monitor ConfigMgrSetup.Log : Located on the root of system drive (Secondary site server ) Sender.log: Located on the Secondary site server installation directory (c:Program FilesMicrosoft Configuration ManagerLogsSender. Log) used to track weather the site is sending site information to the primary parent site. After ensuring there are no communication problems from the above 2 logs, go ahead to check the despoiler.log on the primary site server to ensure it has received the secondary site information and is processing the secondary site information. Despoole.log: located on the Primary site server (c:Program FilesMicrosoft Configuration Manager LogsDespool.log) Hman.log: Logs actions related to the hierarchy structure of the sites, located on the primary server (c:Program FilesMicrosoft Configuration Manager LogsHMan.log). Sitecomp.log: Logs information related to secondary site information publishing to Active Directory along with the primary site information, Located on the primary Site Server (c:Program FilesMicrosoft Configuration Manager LogsSiteComp.log) With this you are done with Secondary site Server Installation.
